
Anyone can understand the frustration of struggling with stubborn soap scum and hard water stains on your acrylic shower walls. All these can make your bathroom feel less appealing. But here’s the good news that you don’t have to feel frustrated when thinking about how to clean acrylic shower walls. With safe and practical steps, you can make your acrylic shower walls fresh and shiny.
This blog will guide you through some useful ways to clean, maintain, and protect your acrylic walls. By following these techniques, you’ll enjoy a spotless, hygienic bathroom and even find out when you should opt for a professional home remodel to give it a new look.
Some Pre-Cleaning Tips for Cleaning Acrylic Shower Walls
Before you start, here are a few preparatory steps that can save you time and protect your walls:
- Run warm water over the walls for a few minutes to loosen grime. Warmth helps dissolve soap scum and minerals.
- Use soft tools, including non-abrasive sponges or microfiber cloths. Avoid scrub brushes that can scratch acrylic.
- Select gentle cleaners, like mild dish soap, baking soda, or vinegar solutions, work best. Avoid bleach or ammonia.
- Open windows or turn on an exhaust fan to prevent mold and allow cleaning solutions to evaporate safely.
- Conduct a spot test by trying any cleaner on a small, hidden section to ensure it won’t damage or dull your acrylic finish.
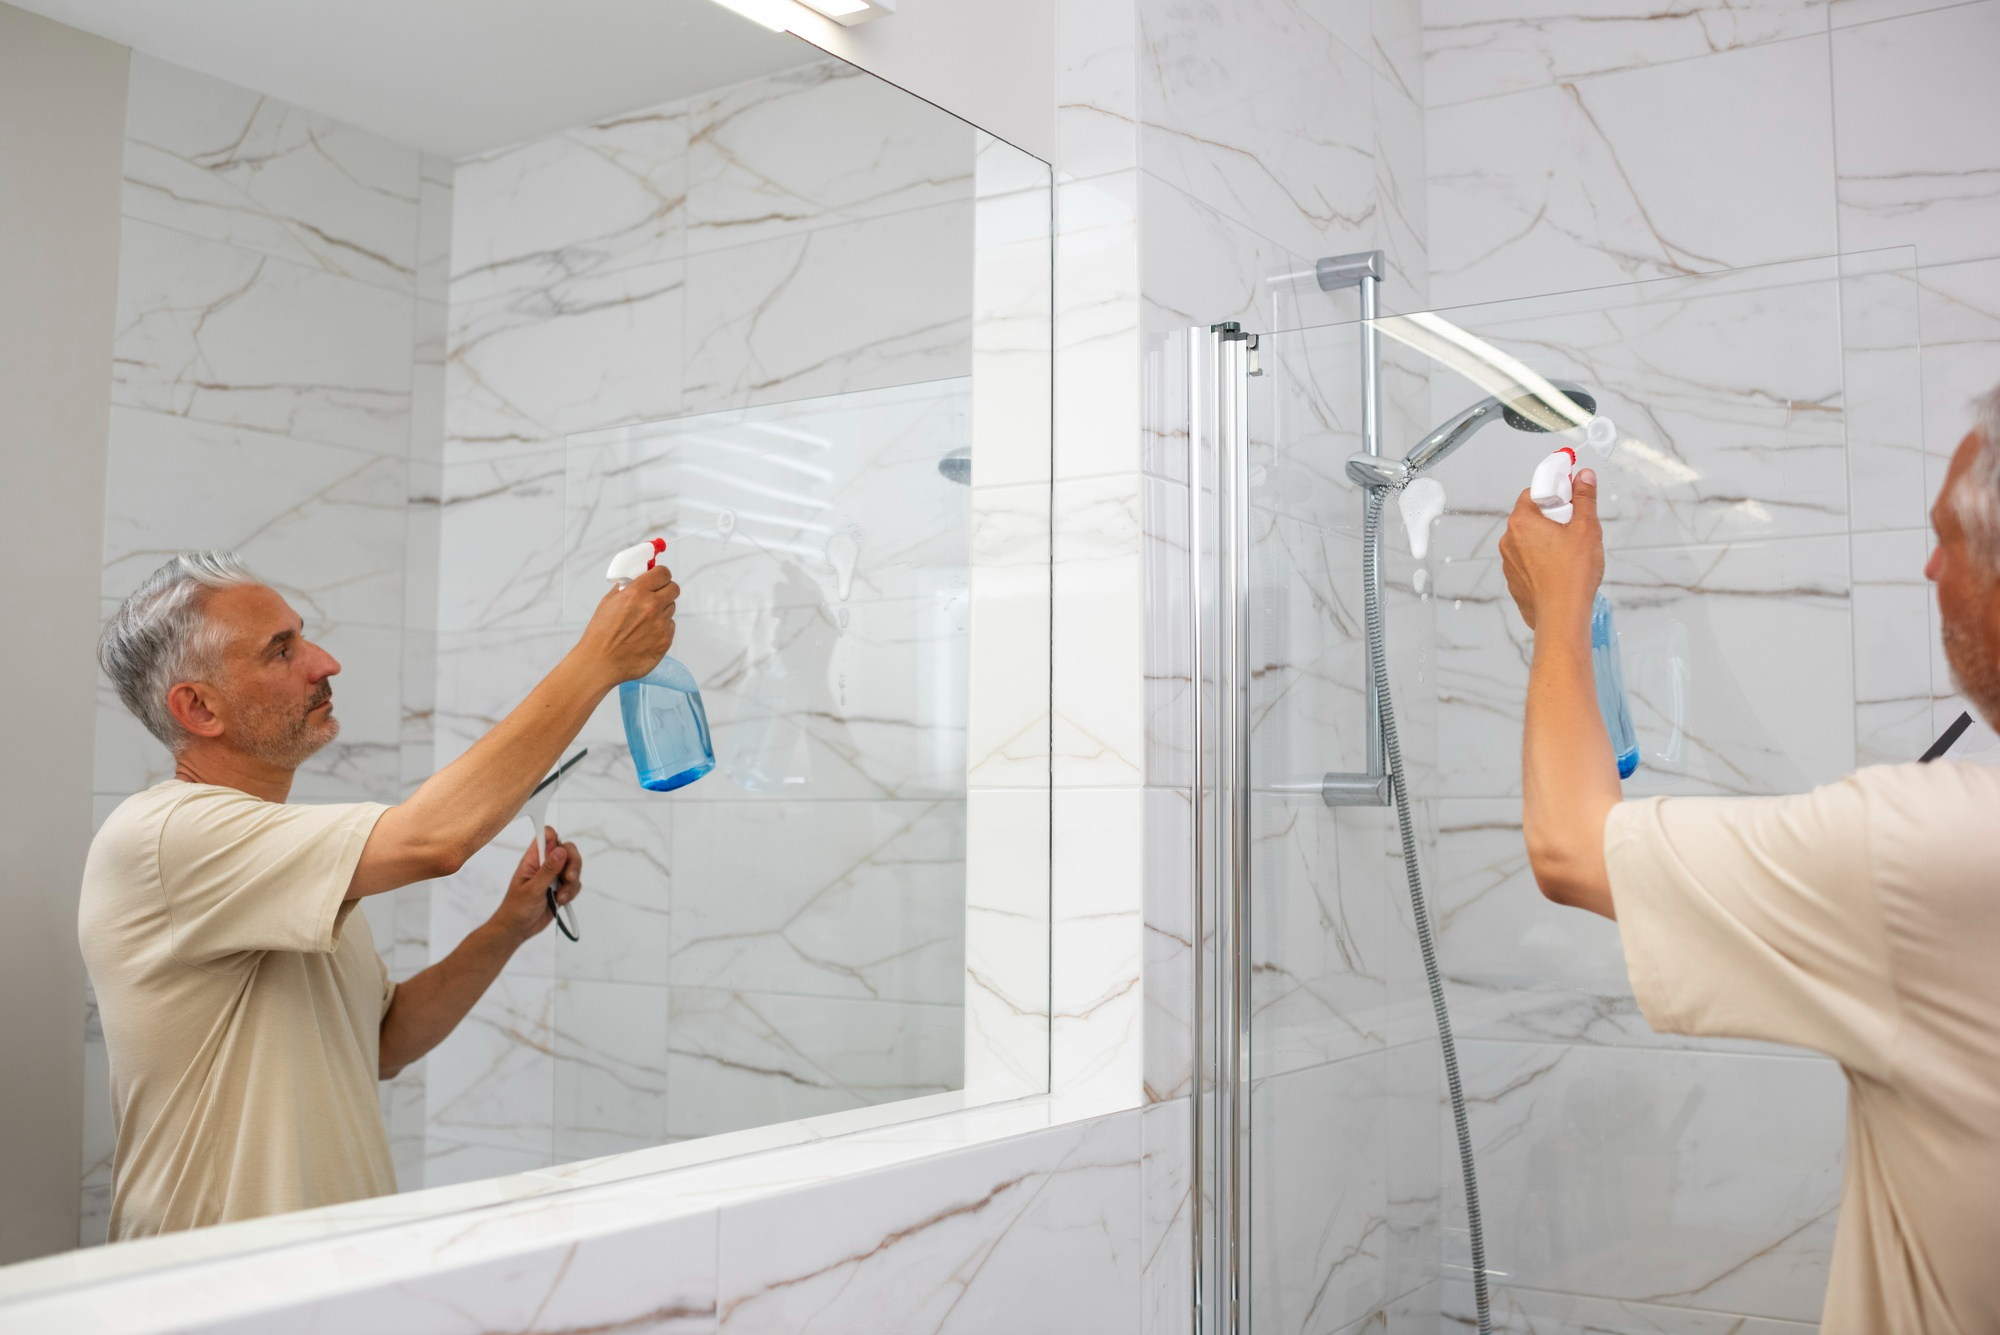
The Easy Method to Clean Your Acrylic Shower Walls
Learning how to clean acrylic shower walls efficiently requires the right approach. With proper techniques, you can restore that shine, remove stubborn stains, and protect your walls from future damage.

Rinse and Loosen Dirt
Start by spraying warm water over the walls. Warmth helps soften soap scum, hard water deposits, and general grime, making removal much easier without heavy scrubbing. Focus on the corners, edges, and areas around faucets, which often collect the most buildup. Avoid using boiling water, as excessive heat can warp or weaken acrylic over time.
Apply a Gentle Cleaner
Mix white vinegar with warm water, or a mild dish soap diluted in water. Spray generously across the entire surface, making sure to cover high-traffic areas where soap and shampoo residue accumulate. Leave the solution for 5 or 10 minutes. This time, it breaks down stubborn grime while remaining safe for acrylic.
Carefully Handle the Stubborn Spots
For persistent stains, sprinkle baking soda onto a damp microfiber sponge and gently rub the affected areas. Focus on soap scum rings near faucets or the shower floor, where mineral deposits tend to be strongest. Patience is key here, so you’ll have to avoid vigorous scrubbing, which could damage the wall’s finish.
Scrub Well
When you find out how to clean acrylic shower walls, remember to work in small sections, using circular motions for consistent coverage. You should always pay attention to seams, corners, and areas around built-in shelving, which tend to trap grime.
Rinse the Walls Thoroughly
Once you complete the scrubbing step, use warm water to rinse away all cleaning solutions and loosened debris. If your bathroom contains a larger shower, you can use a detachable showerhead to ensure water reaches all corners efficiently.
Dry Completely
Wipe down the acrylic shower walls with a soft microfiber cloth. It will prevent water spots and streaks, and thorough drying can reduce the risk of mold or mildew growth. Keep a mild soap spray on hand for weekly touch-ups to prevent buildup from returning.
What to Do If the Stains Don’t Get Cleaned
If repeated cleaning reveals persistent stains, discoloration, or scratches, it might be a sign your bathroom needs a refresh. Contact our team at Georgia Best Home Builders for a stylish bathroom remodel Atlanta to replace your older acrylic bathroom look with a completely different option.
Weekly Cleaning Routine to Clean Acrylic Shower Walls
Keeping your acrylic shower walls looking bright doesn’t require intense scrubbing when you follow a consistent weekly routine. A few simple habits make your walls easier to maintain and help you avoid the buildup that typically causes frustration.
Do a Quick Warm Rinse After Every Shower
After each shower, run warm water over the walls for a few seconds. It helps prevent soap scum and mineral residue from sticking, making your weekly cleaning much easier.
Use a Gentle Weekly Spray to Keep Build-Up Away
Choose a gentle solution and mist the walls lightly. Let it sit for a few minutes before rinsing to refresh the surface and keep stains from forming.
Dry the Walls to Stop Spots and Streaks
You can use a microfiber cloth to prevent streaks and water spots.
Check Corners and Edges for Early Signs of Build-Up
Check seams and edges regularly so you can catch and treat small problem areas before they turn into tougher cleaning tasks.
Frequently Asked Questions
1. How to clean acrylic shower walls using vinegar?
Yes. When diluted with water, vinegar safely dissolves soap scum and mineral deposits. Always rinse thoroughly afterward to avoid residue buildup.
2. How do I remove hard water stains from acrylic?
You can try washing your acrylic shower walls with a paste of baking soda and water. Apply gently with a soft sponge and rinse. For persistent stains, a vinegar-water spray before scrubbing helps break down minerals.
3. How often should I clean my acrylic shower walls?
Weekly cleaning keeps walls looking new. Daily rinsing reduces grime accumulation and limits the need for intense scrubbing sessions.
4. Can cleaning damage acrylic walls?
Yes. Harsh chemicals or abrasive tools can scratch or dull acrylic. Stick to soft cloths, gentle solutions, and non-abrasive sponges for better results.
Closing Thoughts
Maintaining acrylic shower walls is simple with the right steps, routine care, and gentle cleaning methods. Following these practices keeps your bathroom hygienic, sparkling, and enjoyable. If your shower shows signs of wear or stubborn stains, you can contact Georgia Best Home Builders to remodel your bathroom.
